Local AI Scribe Setup
Preface
This is a script that I worked on to help empower physicians to alleviate the burden of documentation. Expensive solutions could potentially share personal health information with their cloud-based operations. It utilizes Koboldcpp and Whisper on a local server that is concurrently running the Server.py script. The Client.py script or executable can then be used by physicians on their device to record patient-physician conversations after a signed consent is obtained and process the result into a SOAP note. Regards, Braedon Hendy
I have tested the following and everything can be run on a laptop/desktop. I will preface that this will run slowly but will demonstrate the capability. If you have an NVIDIA RTX-based graphics card, the instructions can be installed using Koboldcpp.exe rather than koboldcpp_nocuda.exe and consider a GPTQ rather than a GGUF model if you have sufficient VRAM.
You can see the video demo:
Install Python
First install Python 3.10.9: Python Release Python 3.10.9 | Python.org
When running the Windows installer, make sure you click the checkbox to select “Add Python to Path.”
You then have to open the command line and run: py -3 -m ensurepip
Or if you don’t want to download the Python installer, the easier method is to open Micorosft Store, and search for Python 3.10. When you press Get, it will be installed and path configured automatically without any pop ups or additional steps to go through.

Then open PowerShell (press Windows key + R and type “powershell” and press enter), and run this command to enable the pip dependency manager: py -3 -m ensurepip
Then run this command to install the speech recognition/speech-to-text system:
pip install openai-whisperPowerShell Commands
Now you need to run some additional PowerShell commands to install software to convert the audio file to be processed. Run the following commands, running each line by pressing Enter:
It will prompt you to proceed, press A for ‘Yes for All’
Set-ExecutionPolicy -ExecutionPolicy RemoteSigned -Scope CurrentUserInvoke-RestMethod -Uri https://get.scoop.sh | Invoke-Expressionscoop install ffmpegAI Model
Now you need to download the AI model (it is large) from the following site. I will link you directly to the one I trialed with my laptop: https://huggingface.co/TheBloke/Mistral-7B-Instruct-v0.2-GGUF/blob/main/mistral-7b-instruct-v0.2.Q4_K_M.gguf
Click the download button once the window opens.
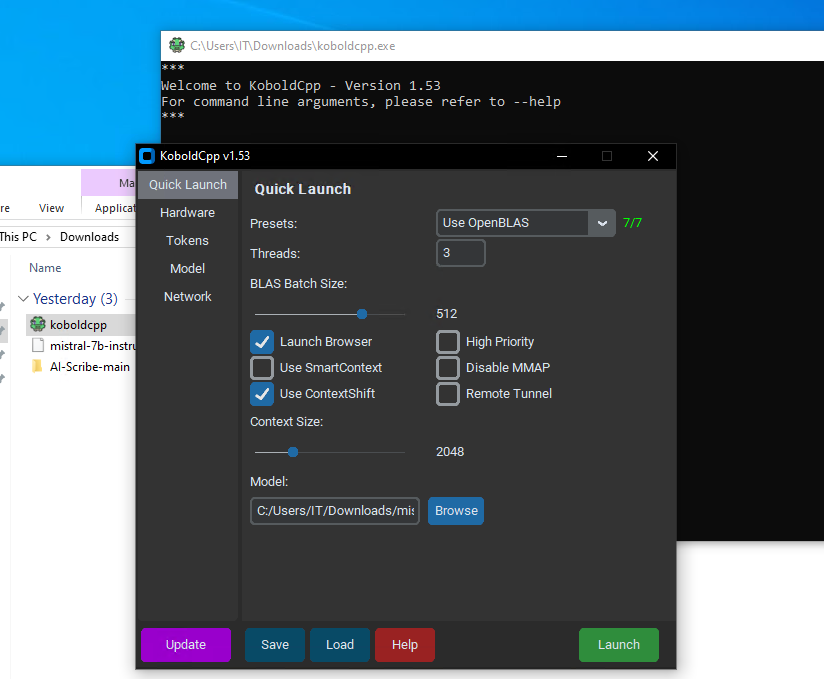
You now need to launch the AI model with the following software that you can download here: https://github.com/LostRuins/koboldcpp/releases
(under Assets choose koboldcpp.exe, then you need to confirm that you wish to keep the file after the warnings since it’s not a verified publisher)
Once the koboldcpp_nocuda.exe is opened, click the Browse button and select the model downloaded. Now click the Launch button.
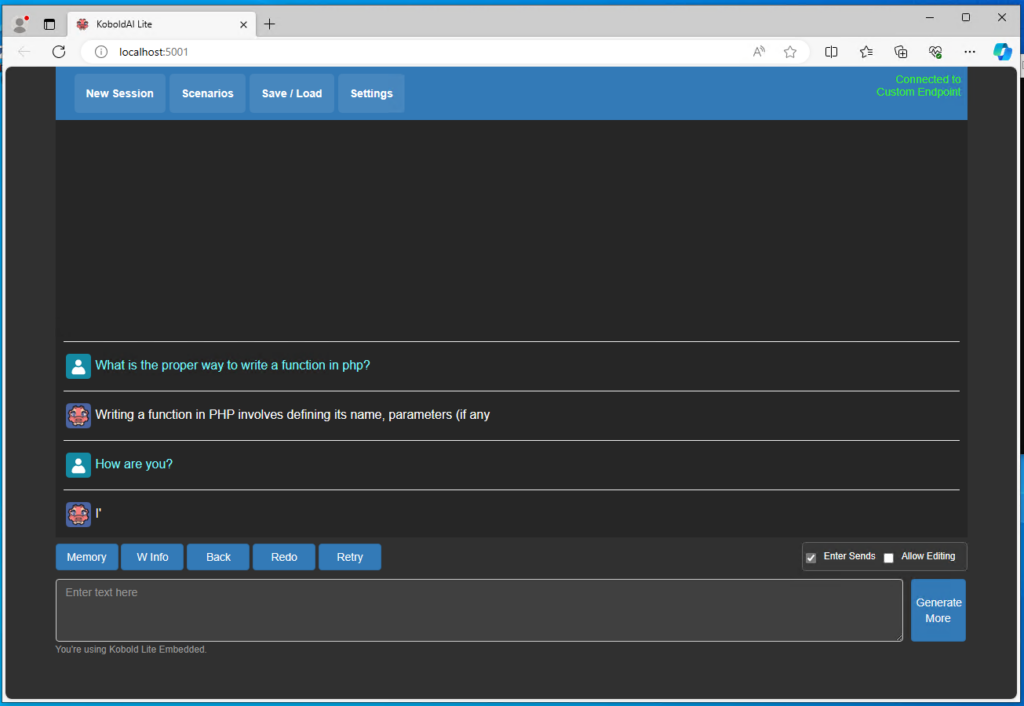
You should see a window open and can ask it questions to test!
AI Scribe Files
If the test was successful, you need to close the window and download Braedon’s AI Scribe files: https://github.com/1984Doc/AI-Scribe
You can press Download ZIP

Then unzip the files.

Double-click the server.py file. This will download the files to help organize the text after converting from audio.
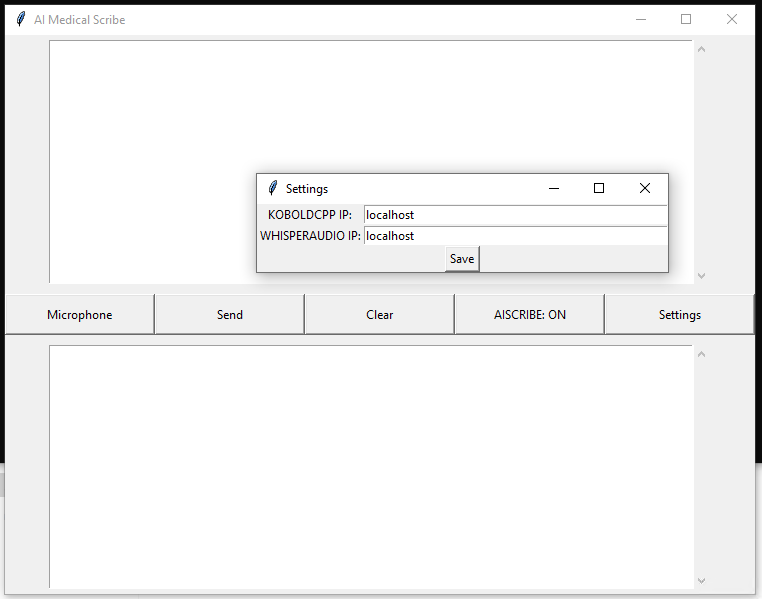
Open the AIScribe.exe (you need to press More Info then Run anyways if you see a warning) and click the settings button.
For each category, remove the IP address and type “localhost”.
Do not include quotations and click Save. Close the program and re-launch.
Please verify that Kobold executable and Server.py script are running with the AI model launched. Everything should work! If running on a separate machine, please adjust the IP addresses appropriately
Original instructions Copyright © Braedon Hendy
Instructions updated for Python install steps, readability, added screenshots, steps, article by Adrian Starzynski